
Things to Know Before You Change Your First Diaper
New to diaper duty? Start here.

By
If your first ever diaper change is going to be on your own baby (no shame!), here’s some good news: you don’t need to be a pro before your little one arrives—you just need to be prepared. With help from Pampers, we’re breaking down everything you need to know: how to spot (and stop) a blowout, what diaper ingredients mean, how the right diaper can support better sleep, and when it’s time to size up.
We’ll also walk you through diaper anatomy and a simple, step-by-step changing guide. It might feel intimidating now, but trust us—you’ll get the hang of it fast. And until then, we’ve got your back. (And your baby’s butt.)
The anatomy of a diaper
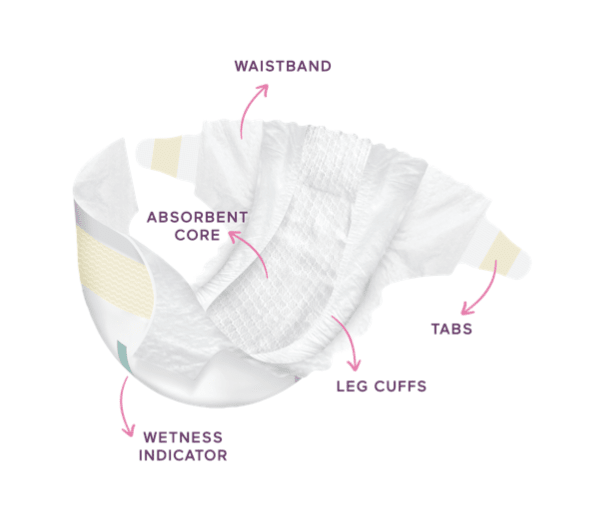
At first glance, all diapers might look the same, but when you’re changing a diaper 10+ times a day (yes, really), the small design details start to matter. Before your first change, here’s a breakdown of what you can generally expect in a diaper. For starters, there are two main parts:
Diaper core: The middle of the diaper where pee and poop are absorbed and stored.
Diaper chassis: The shell of the diaper that holds the core together, attaches the diaper onto the baby and creates a proper fit around the legs.
Within the diaper core, you’ll find:
Topsheet: Also known as the moisture-wicking liner, this is the part of the diaper that comes in contact with the baby’s skin. Its job is to pull moisture away from the skin quickly to help keep it dry and comfortable—kind of like the high-performance fabric in your favorite workout gear. Pampers Swaddlers use a unique BreatheFree Liner that’s specially designed to quickly transfer fluids to the core while remaining soft and dry to the touch.
Acquisition layer: This layer is immediately under the topsheet of the diaper. It moves liquid away from the baby’s skin and distributes it more evenly across the entire diaper core for better absorbency (in other words, it helps keep baby feeling dry for longer).
Absorbent core: The absorbent core is the inner-most layer of the diaper. This keeps the baby’s skin dry, even if he or she sits on a full diaper.
Within the diaper chassis, you’ll find:
Backsheet: This is the water-resistant outer layer of the diaper and it prevents liquids from passing through the diaper and leaking onto the baby’s clothing or surrounding environment.
Tabs: These are the fasteners that secure the diaper. If you’re not sure how to place them for the best fit, Swaddlers have easy-to-adjust tabs that help you keep them snug and tab guides that show you where they belong.
Leg cuffs: Elastics and cuffs on the diaper’s sides ensure improved fit around the legs and prevent leakage. Pro tip: fluffing or pulling out the cuffs help them create a more secure seal.
Additional details you might find are:
Blowout barrier: The waistband on Pampers Swaddlers have an all-around leak guard that helps catch blowouts (which you won't find on every diaper).
Wetness indicator: A color-changing line that lets you know when baby has pooped or peed.
Umbilical cord notch: Some newborn diapers have an umbilical cord notch to protect your baby’s healing belly button. The special cut-out on Swaddlers keeps the diaper from rubbing or irritating the cord stump as it dries and falls off to keep baby more comfortable during those early weeks.
What’s actually in a diaper?
Over the last few years diaper ingredients have been in the spotlight in a big way as parents are wondering what materials diapers are made with. Here’s a quick look at what’s inside a typical diaper like Pampers Swaddlers:
Topsheet: The part that touches your baby’s skin is made from soft, breathable fibers that wick moisture away quickly to help keep skin dry.
Acquisition layer: This middle layer includes naturally derived wood pulp and a super-absorbent polymer that locks in wetness and holds messes securely.
Absorbent core: This is typically made of a blend of cellulose fluff pulp and polyacrylate granules. The cellulose portion quickly absorbs and transfers urine to the polyacrylate superabsorbent material, where it is trapped.
Some diapers also include added features:
Lotion layer: Some topsheets include a skin-care lotion, such as those found in diaper skin-care products, which can protect the skin from over hydration and reduce irritation.
Hypoallergenic: Designed to cause fewer allergic reactions, these are ideal for babies with sensitive skin.
Nothing touches your baby's skin more than their diaper, so what’s not in them can just as important as what is. Some diapers like Swaddlers are made without parabens, elemental chlorine and latex and are dermatologically tested to be safe and gentle for newborns.
How a diaper can affect baby’s sleep
Wet or uncomfortable diapers are a common (and often overlooked) culprit when it comes to sleep disruptions, especially for newborns. Babies have super-sensitive skin, and even a little dampness can make them feel cold or uncomfortable enough to wake up. Choosing the right diaper can make a big difference in how some babies sleep—and as a result, how much sleep you get too.
If you're wondering what makes certain diapers "overnight" diapers, or why diapers like Swaddlers are so popular with newborn parents, it's because they've prioritized ultra-absorption. With breathable materials and a wicking liner that pulls wetness away from your baby’s skin (and seals it in), it keeps things dry and cozy for longer stretches of sleep. Pro tip: if you do suspect they’re wet, that built-in wetness indicator lets you check if they need a change without having to fully wake them up. All of this adds up to fewer disruptions and more restful sleep for everyone.
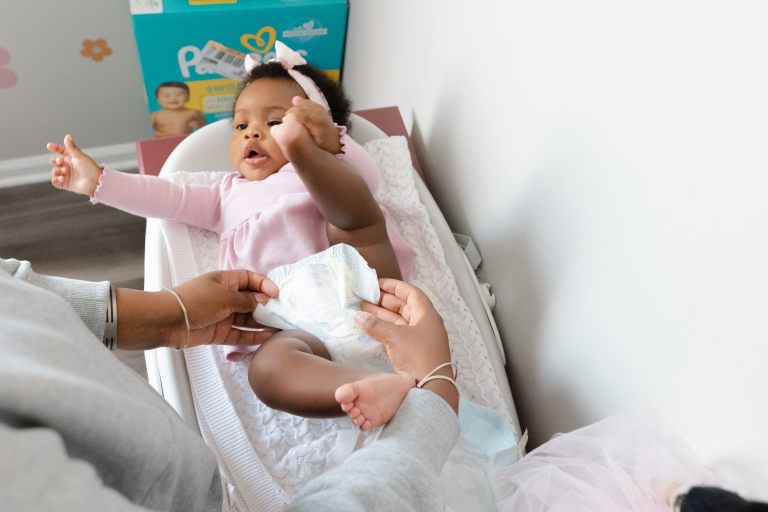
What are diaper blowouts and what to do about them
Blowouts are one of those parenting rites of passage no one really prepares you for—until you’re holding your baby in one hand and a very messy bodysuit in the other. A blowout happens when the contents of a diaper escape (usually up the back or out the legs), and while they’re not always preventable, if they're happening frequently, it might be a sign that it’s time to size up or check the fit. If a diaper is too small, too loose or not quite the right style for your baby’s current stage, leaks are more likely. Choosing a diaper with snug leg cuffs, a secure waistband and good absorbency—like Pampers Swaddlers—can make a big difference in keeping the mess where it belongs. And yes, sometimes you just need to keep a backup outfit (or three) close by.
What’s the difference between diaper types?
As your baby grows, their diaper needs will change right along with them. Here are a few ways different styles are tailored to different stages:
Swaddlers: Super soft and gentle, these are ideal for newborns and babies with sensitive skin. They include thoughtful touches like a wetness indicator, an umbilical cord notch for early days and are the #1 Choice of NICU professionals.
Swaddlers 360: Designed for babies on the move, these pull on diapers adapt to their every move for a soft and comfy fit—no tape needed. Diaper changes are easier because you pull them up and on wiggly babies who are beginning to stand.
Pure Protection: A gentle option made with a vitamin-enriched liner that’s free of fragrances.
When should you switch? Watch for signs that your baby's outgrown their current diaper stage—like leaks, red marks, or a baby who’s suddenly more mobile. You might also find that different styles work better at different times of day. The right diaper can make life a lot easier, so don’t be afraid to experiment a little until you find your perfect match.
A step-by-step guide for changing a diaper
Changing your first diaper might feel intimidating, but we promise—it gets easier fast. With a little practice (and the right supplies), you’ll be a diaper-changing pro in no time. Here’s how to get started, but if you’re a visual learner watch our TikTok:
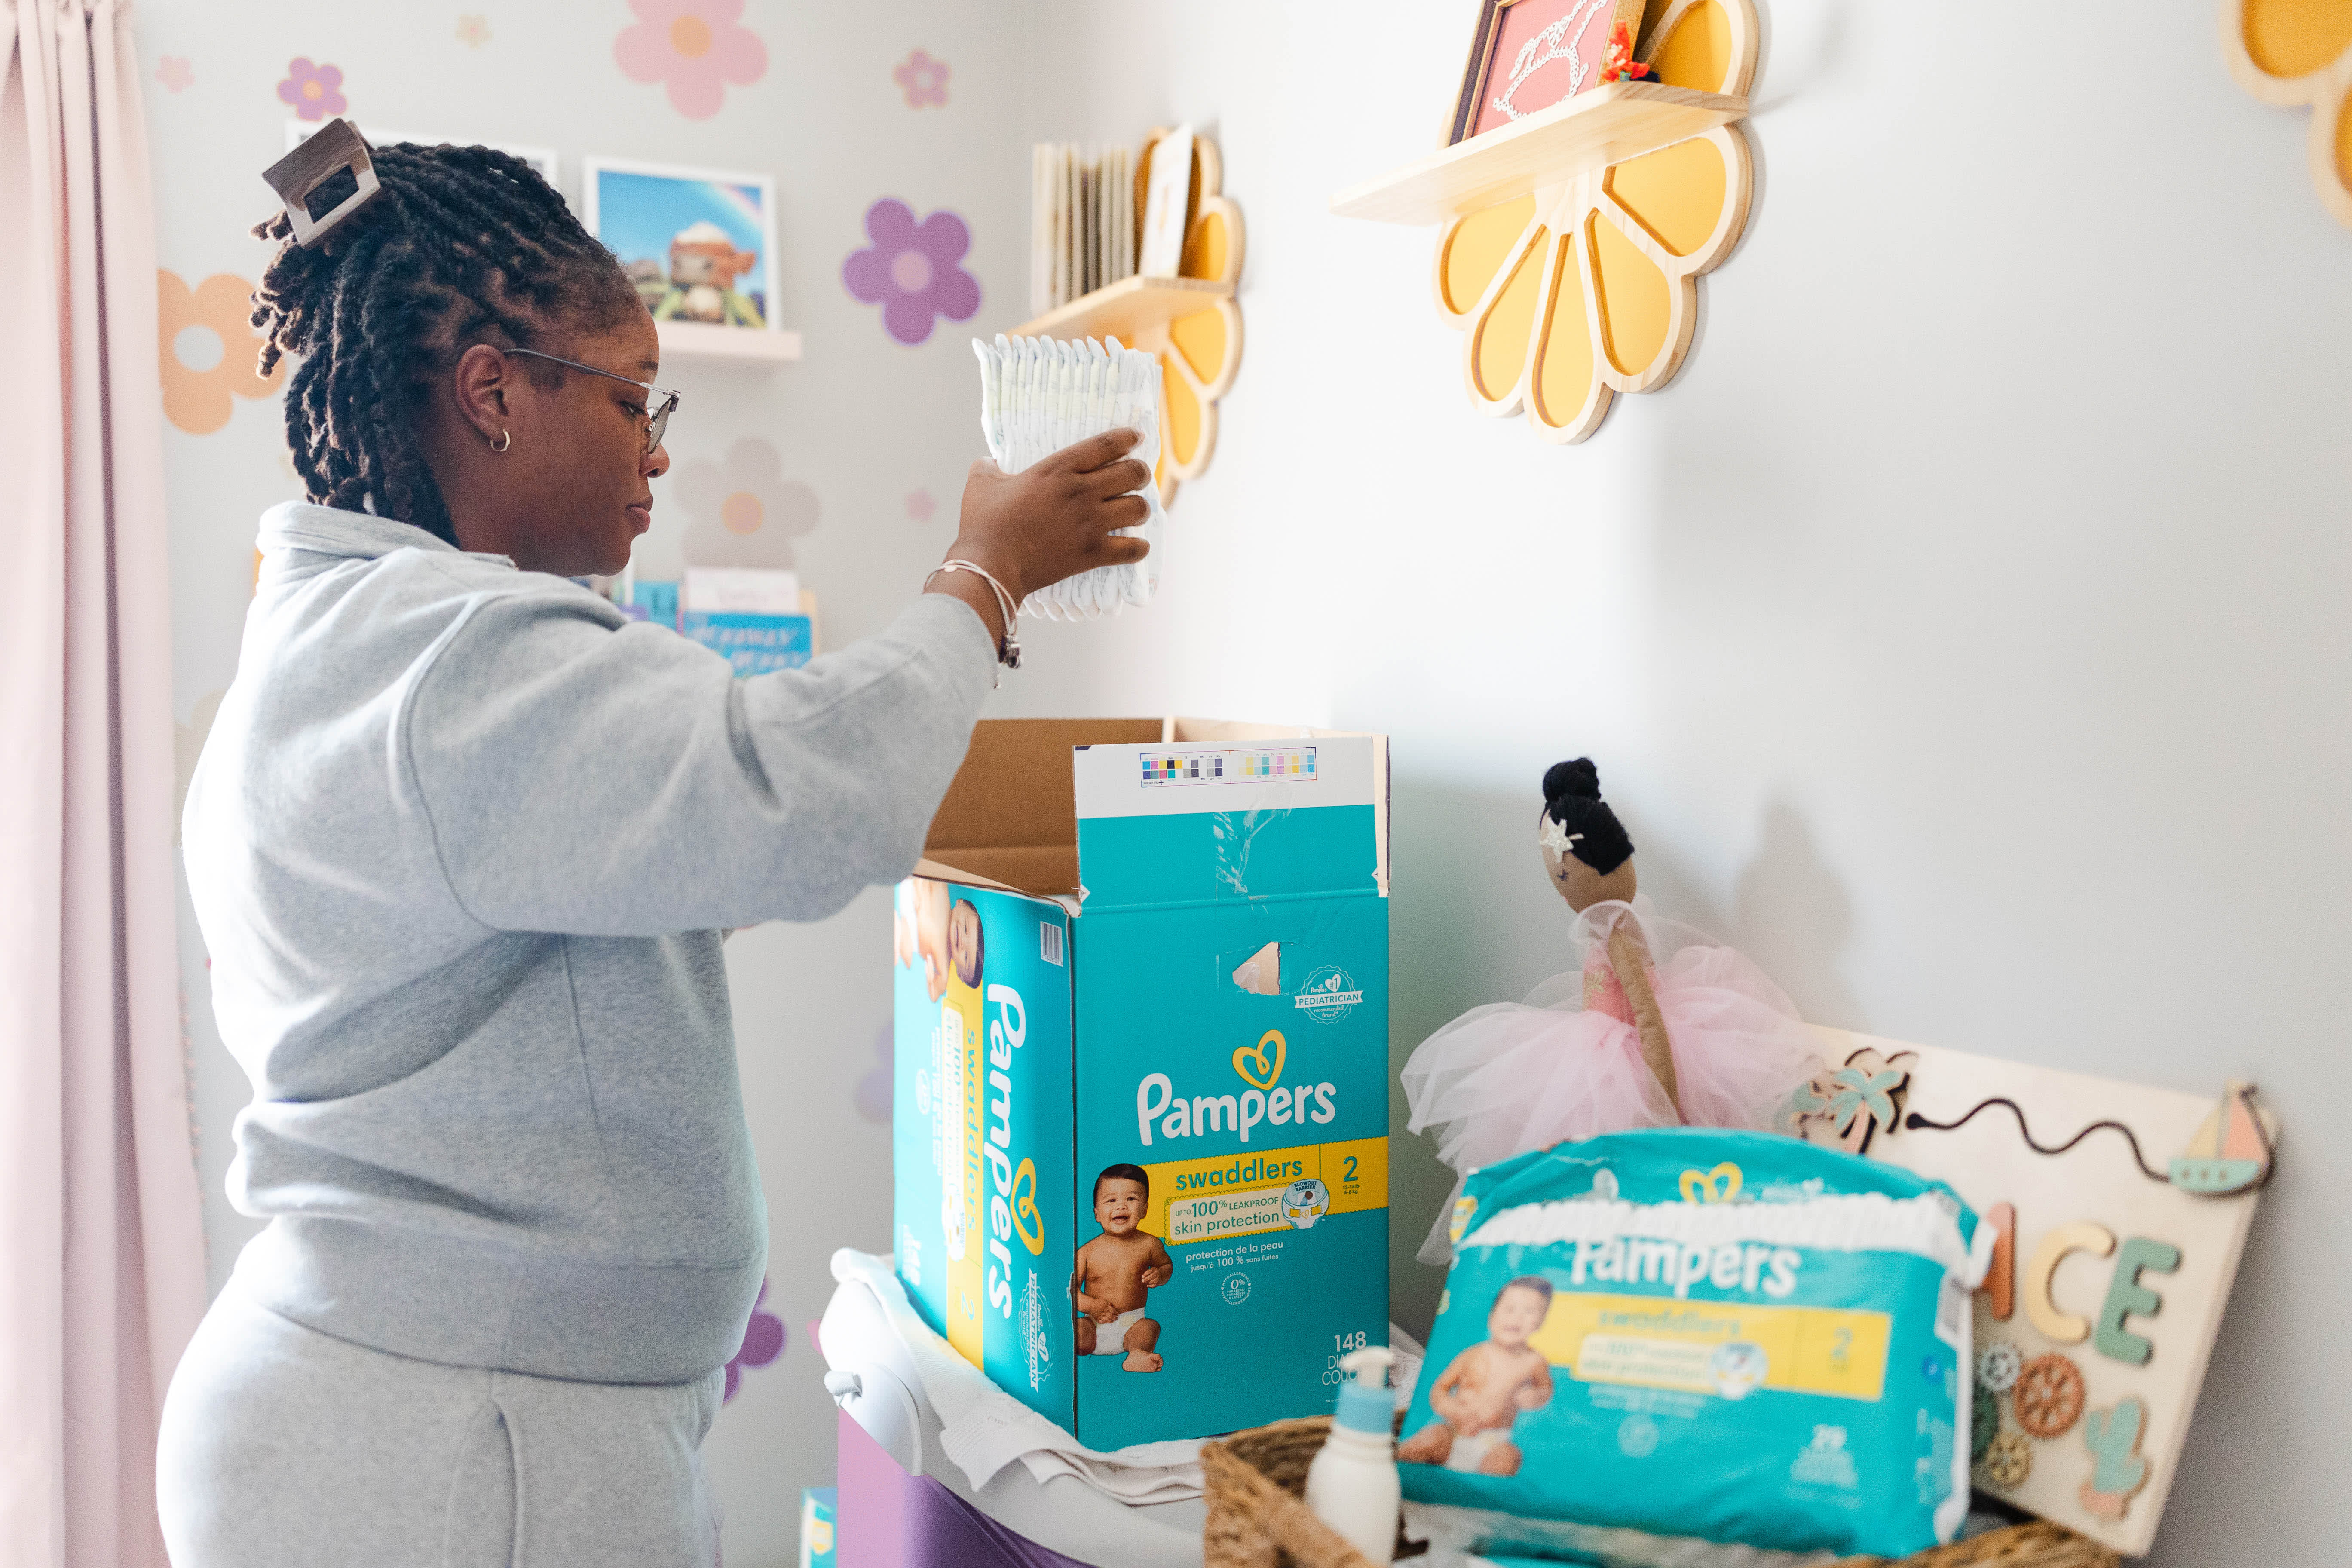
Gather your supplies: You’ll need a clean diaper, wipes, diaper cream (if you’re using it) and a safe, flat surface like a changing table or pad. Pro tip: keep everything within reach before you start.
Lay your baby down: Place them on their back, and always keep one hand on them if you're reaching for something. Safety first!
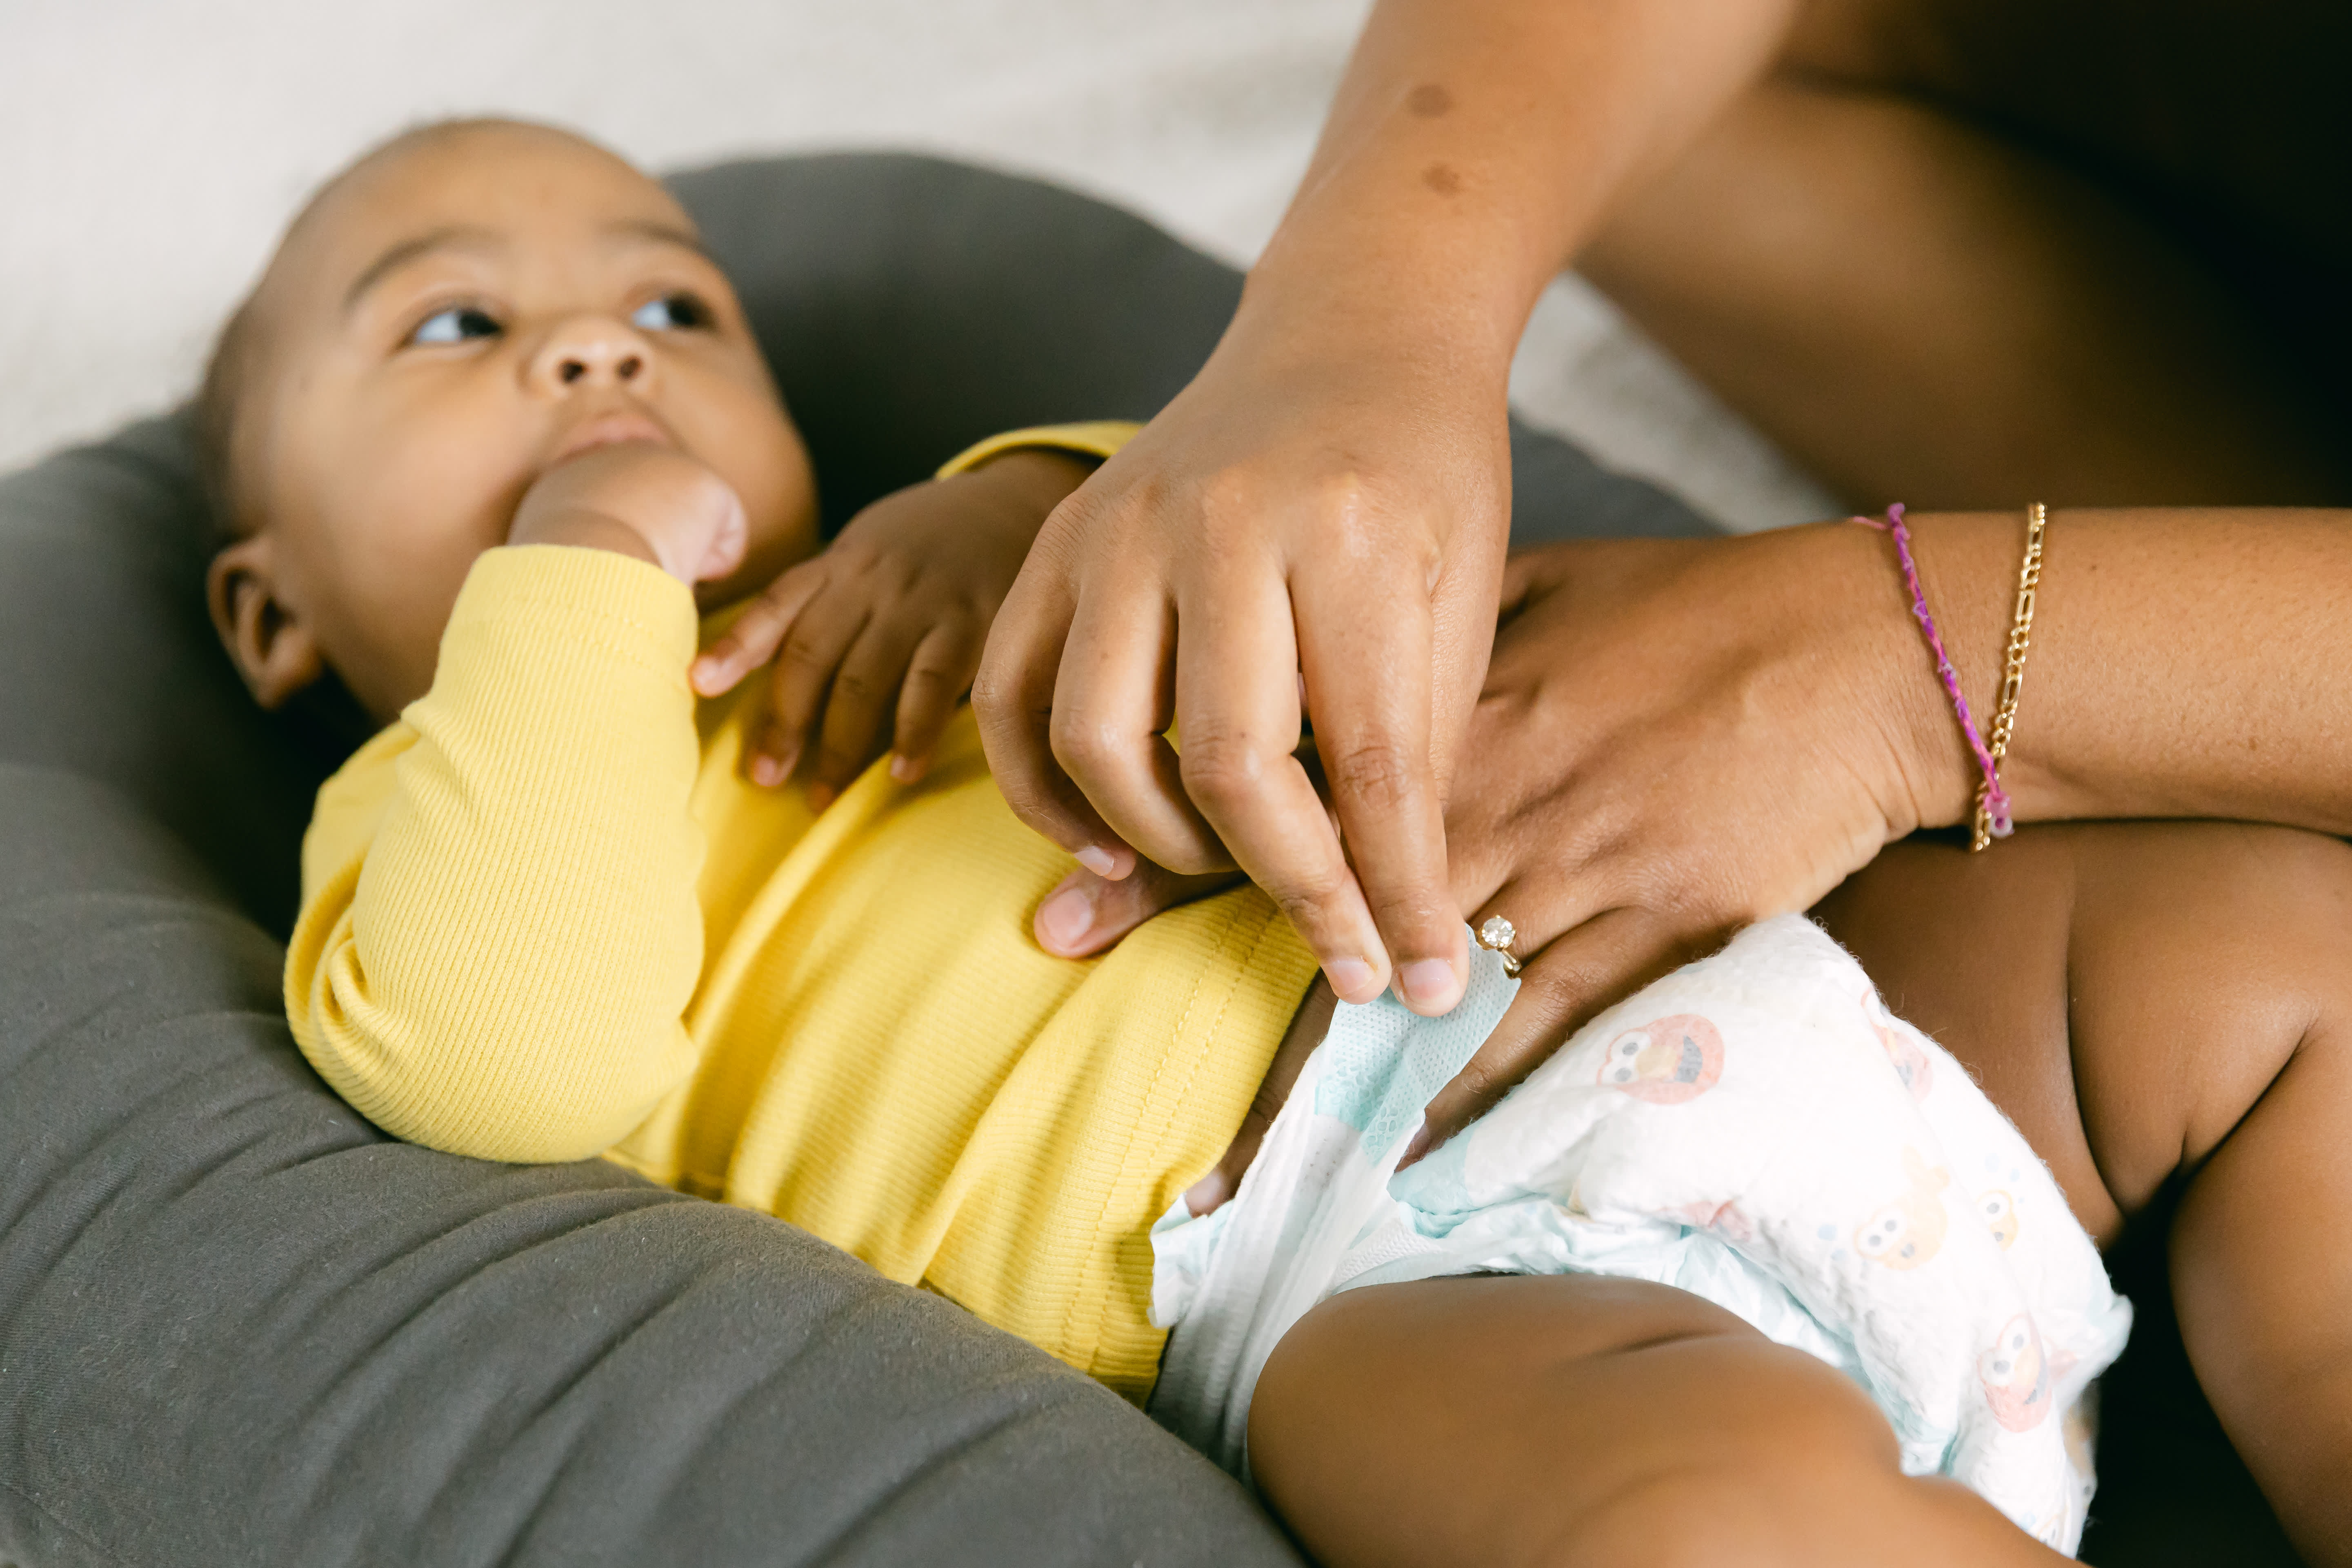
Open the dirty diaper: Gently undo the tabs and fold the front of the diaper down. If there’s poop, you can use the front half of the diaper to wipe down and contain the mess.
Clean your baby: Use wipes to gently clean from front to back—especially important for baby girls to help prevent infection. Make sure all the folds and creases are clean and dry.
Remove the dirty diaper: Slide it out from under your baby and set it aside (folded up and re-tabbed to contain the mess).
Apply diaper cream: If your baby is prone to diaper rash, this is the time to apply a barrier cream or ointment.
Put on the clean diaper: Slide a fresh diaper under your baby, pull the front up and fasten the tabs so it’s snug but not too tight. The waistband should sit just below the belly button, and the leg cuffs should be pulled out—not tucked in—to prevent leaks.
Dress and wash up: Redress your baby, dispose of the dirty diaper and wash your hands (or use hand sanitizer if you’re in a pinch).
Changing diapers might not be the most glamorous part of parenting, but it’s one of those small, everyday things that quickly becomes second nature. In the beginning, you might feel awkward, unsure or like you need three extra hands—and that’s totally normal. And with each change, you’ll move a little faster, get a little better at dodging kicks and maybe even learn to do it one-handed on the go.
Want to go even deeper into diaper duty prep? Check out Pampers to learn all about the wonderful world of diapering.
This article is sponsored by Pampers. Babylist’s free site, apps and emails are made possible by our sponsors. We limit our sponsored content to relevant partners that offer products and services we believe in and use ourselves.