How to Make a Diaper Cake That Actually Looks Good
This step-by-step guide makes it easy (and actually fun) to create a diaper cake that’s as cute as it is giftable.

By
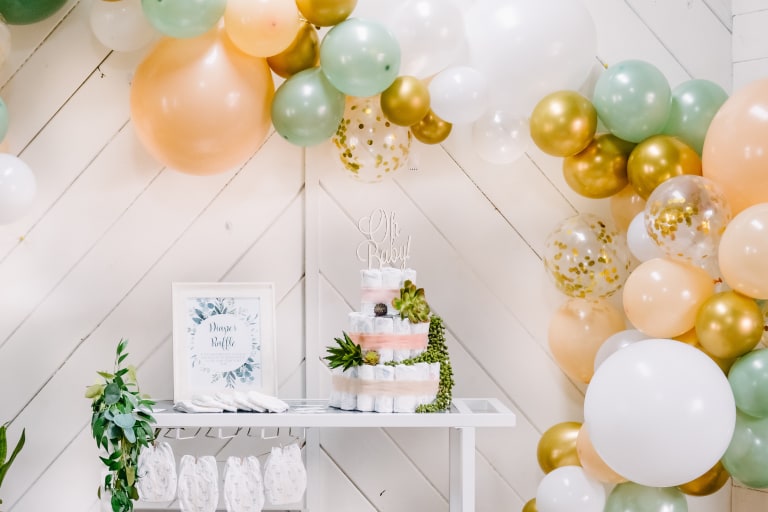
If you have a baby shower on your calendar and want to give the expecting parents a useful gift that still feels meaningful and thoughtful (and a bit more custom), a diaper cake could be just that. Despite sounding like a dessert, a diaper cake is a cute way to present an otherwise standard gift, a package of diapers. Generally, most diaper cakes look like three-tiered wedding cakes, but if you’re on the craftier side, you can design one that looks like just about anything. But, even if you’re not the Martha Stewart of your friend group, putting together a diaper cake is pretty straightforward, hard to mess up and leaves plenty of room to make it as adorned or simple as you want.
Here’s a step-by-step on how to build a beautiful diaper cake (and we promise, it’s not nearly as difficult as it looks). You’ll end up with a medium-sized cake.
What You’ll Need:
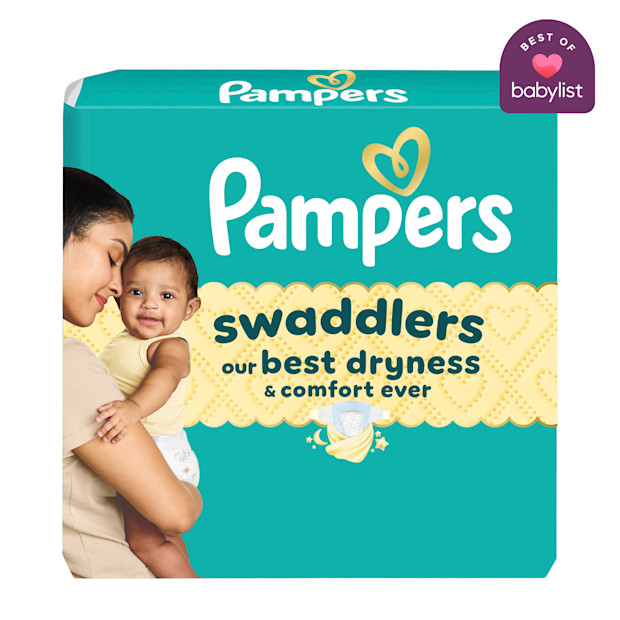
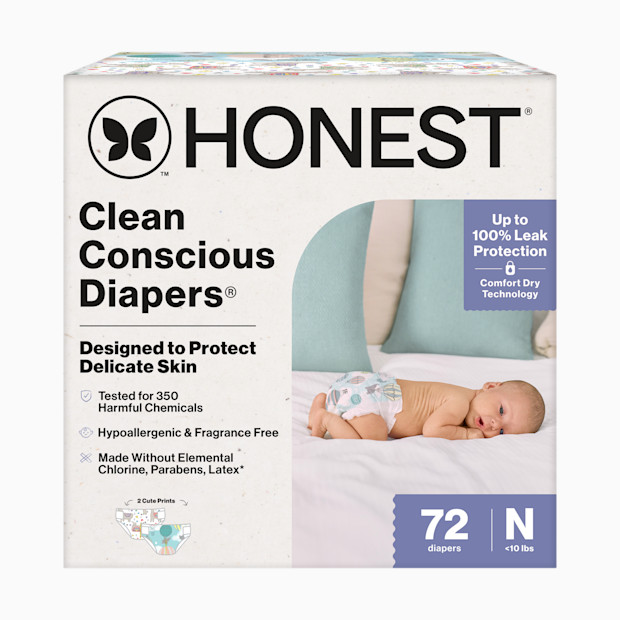
Diapers of your choice (we recommend either newborn or size 1; you’ll need about 50 to 100 diapers total)
Small hair rubber bands (1 pack, at least 100)
Twine, string or thin ribbon (about 4 to 6 yards)
Paper towel tube
Glue
Circular cardboard or cake circle board (should be about 14 inches)
Extra decorations (wide ribbon, bows and small baby items like teethers, toys or stuffed animals)
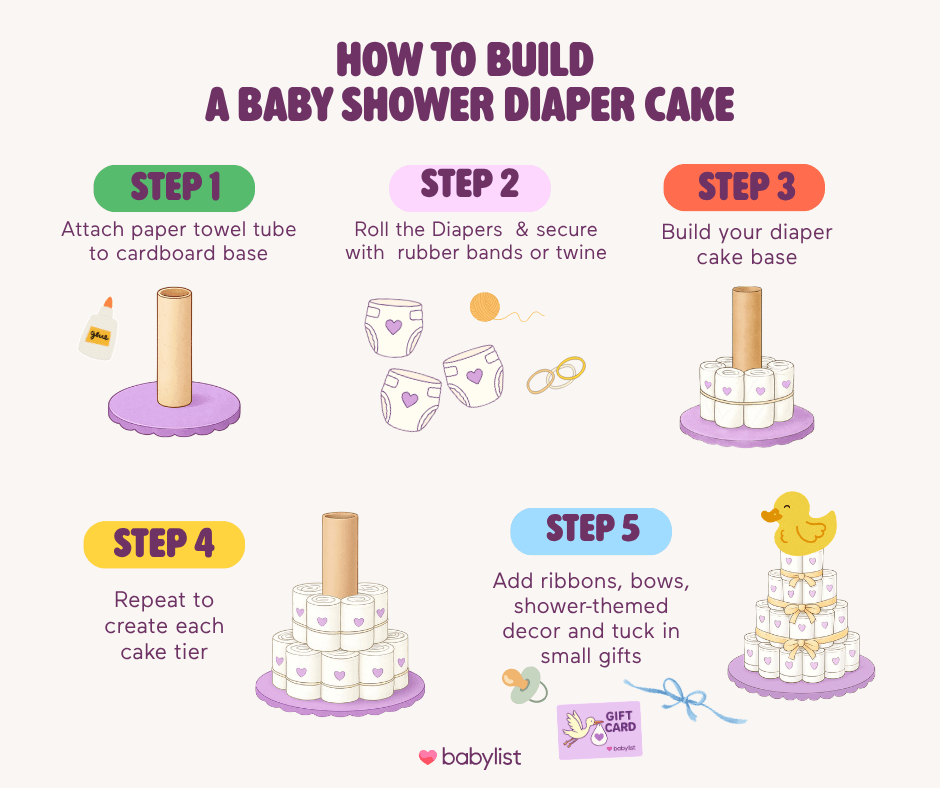
1. Attach Tube to Cardboard
Glue the paper towel tube upright to the circular piece of cardboard. Set it aside.
2. Roll and Secure Individual Diapers
Starting at the bottom of the diaper (opposite the opening), roll about 29 diapers up and secure with a rubber band. You can choose to roll all the diapers you’ll need for the cake, or just work on one tier at a time.
3. Build the Base
To build the base, take 2-3 of your diaper rolls and place them around the paper towel tube and secure them with the string, ribbon or twine. Add more rolled diapers in a circle around the center, creating new outer rows until the base feels full and evenly covered. Secure each row as you go. Once the base is completely built, tie it with a long piece of string, ribbon or twine.
4. Repeat to Create Each Tier
To create the next tier, repeat the same process, starting on top of the base. Continue until you finish three tiers in total.
5. Add Ribbons and Decor
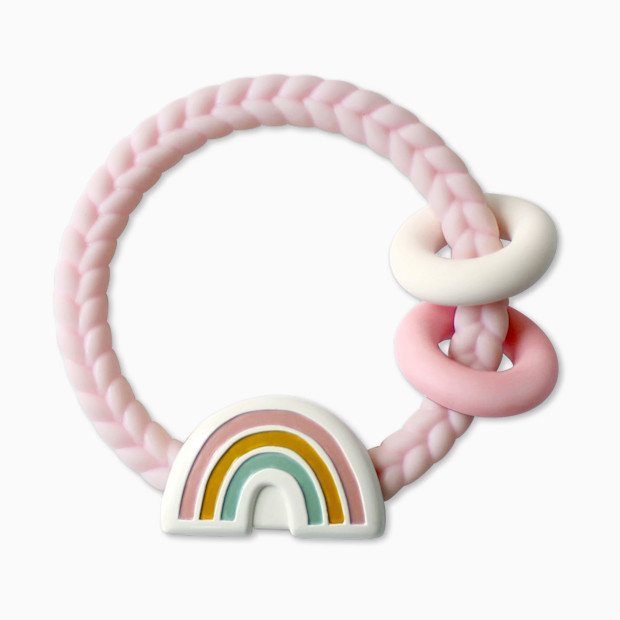
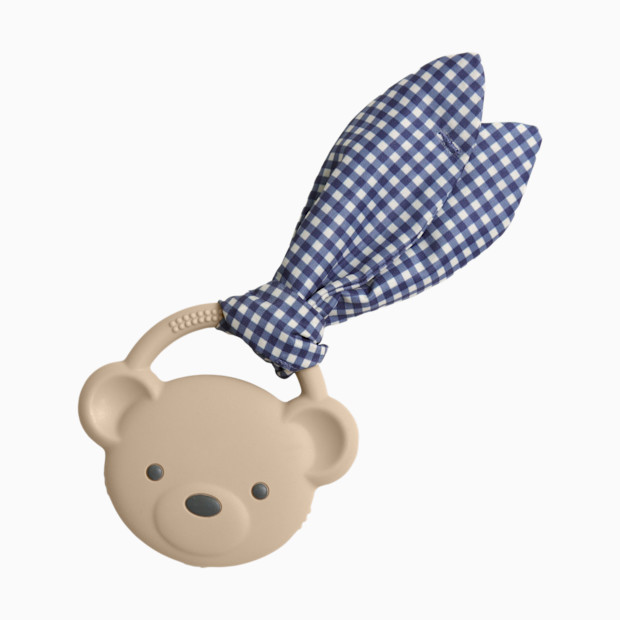
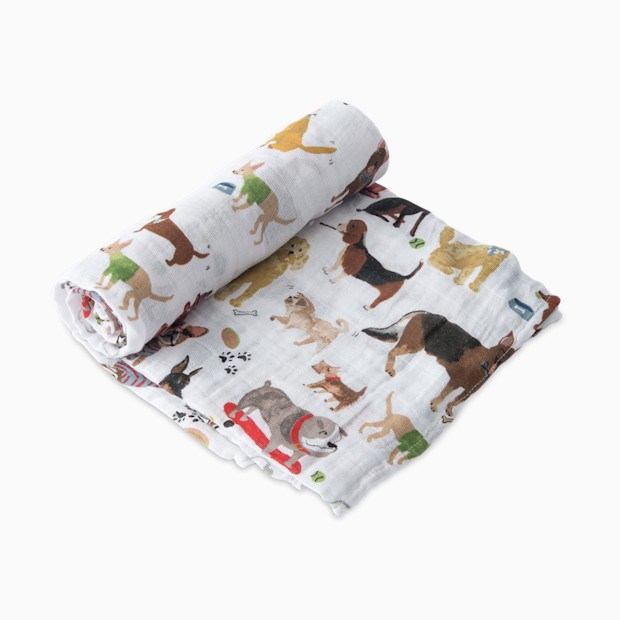
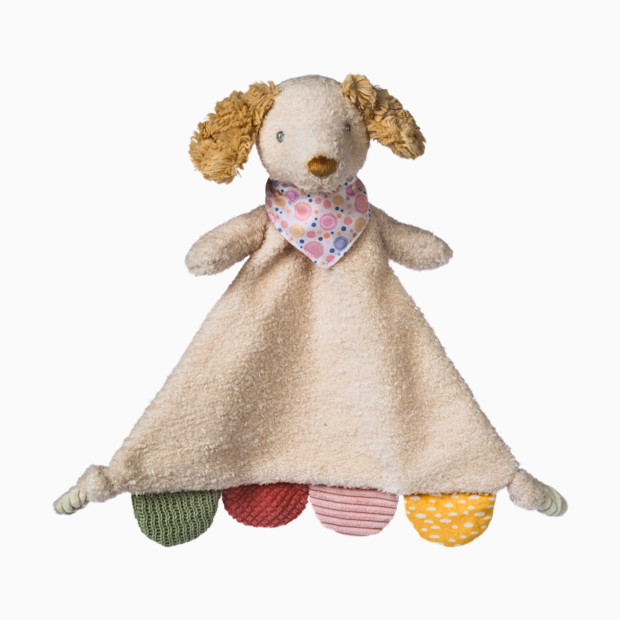
Once the structure of the cake is done, it’s time to decorate. You can freestyle this step and lean into the baby shower theme and other colors and patterns. You can add small but useful gifts like teethers, rattles, stuffies or swaddle blankets.
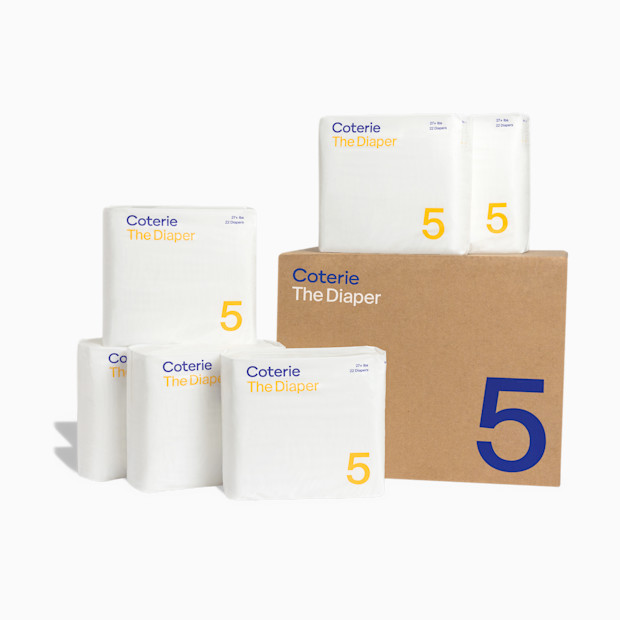


","url":"https://www.babylist.com/gp/pampers-pampers-swaddlers/44136/1656719","source":"hello_baby"});)
;)
;)
","url":"https://www.babylist.com/gp/aeiou-citrus-teether-2-pack/75563/2595722","source":"hello_baby"});)
;)
;)
;)
;)
;)